


How to mix concrete is one of the most searched DIY questions for homeowners and contractors—and the good news is it’s simple when you follow the right steps. In this guide, you’ll learn how to mix concrete correctly for strength, workability, and a clean finish.
If your project is larger (or you want the most consistent results), we’ll also cover when it’s smarter to order ready-mix concrete delivered to your jobsite.
Concrete vs. Cement (Quick Clarification)
- Cement is one ingredient (the “glue”).
- Concrete is cement + sand + gravel (aggregate) + water.
Most DIY projects use either:
- Bagged concrete mix (easy and reliable), or
- A custom mix using cement, sand, and gravel.
What You’ll Need
Tools
- Wheelbarrow or mixing tub (or a concrete mixer)
- Shovel or hoe for mixing
- Measuring bucket (if doing a custom mix)
- Garden hose or water source
- Trowel/float (if you’re finishing a surface)
- Gloves, safety glasses, and a dust mask
Materials
Option A (easiest): Bagged concrete mix
Option B (custom): Portland cement + sand + gravel (aggregate)
The Best Mix to Use (Bagged vs. Custom)
Option A: Bagged Concrete Mix (recommended for most DIY)
Bagged mix is the simplest choice because the ratio is already balanced. Your job is mainly to add the correct amount of water.
Tip: Always follow the water amount listed on the bag—then fine-tune slowly.
Option B: Custom Mix Ratio (cement + sand + gravel)
A common general-purpose mix is:
1 part cement : 2 parts sand : 3 parts gravel
This works well for many basic projects, but structural pours may require specific mix designs. If the concrete will support heavy loads, follow engineering requirements or use a professional mix.
Step-by-Step: How to Mix Concrete
Step 1) Prep your area
Concrete sets faster than people expect. Before you mix:
- Have your forms ready
- Prepare the base (compact it if needed)
- Set tools nearby (trowel/float, level, etc.)
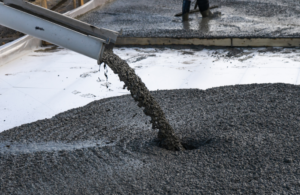
Step 2) Add the dry mix first
Pour the dry mix into your wheelbarrow, tub, or mixer.
If you’re doing a custom mix, measure your materials consistently (same bucket for all “parts”), then mix the dry ingredients well before adding water.
Step 3) Add water slowly (this is the most important part)
Start with less water than you think you need. Add a little at a time while mixing.
You’re aiming for a texture like thick oatmeal or peanut butter:
- It should hold shape when you scoop it
- It should not look soupy or watery
- It should not crumble like dry sand
Simple test: Scoop some on a shovel. If it slowly slides off in one heavy mass, you’re close. If it pours like soup, you added too much water.
Step 4) Mix until consistent
Mix until there are no dry pockets and the color/texture looks even. In a wheelbarrow, this usually takes a few minutes of turning and folding.
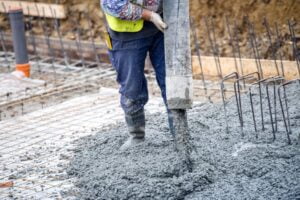
Step 5) Place the concrete right away
Once mixed, start placing immediately:
- Fill forms in layers if possible
- Use a shovel to push into corners
- Tap the forms lightly (or use a rod) to reduce air pockets
Step 6) Level and finish (if needed)
For slabs:
- Screed (level) the top
- Float to smooth it out
- Edge the sides for a clean finish
Avoid over-finishing while water is still bleeding to the surface—this can weaken the top layer.
Step 7) Cure it (don’t skip this)
Concrete gains strength as it cures. Keep it from drying too fast:
- Lightly mist with water
- Or cover with plastic to hold moisture
Rule of thumb: Keep it moist for a few days. The longer you cure, the better the final strength.
Common Mistakes (and How to Avoid Them)
1) Adding too much water
Too much water is the #1 DIY mistake. It makes concrete easier to pour—but weaker and more prone to cracking.
2) Not mixing long enough
Dry pockets = weak spots. Mix until it’s uniform.
3) Pouring on soft or loose ground
A poor base leads to shifting, settling, and cracking. Compact the ground and use a proper base layer when needed.
4) Skipping curing
Fast drying can cause shrinkage cracks and surface problems. Cure properly.
How Much Concrete Do You Need?
To estimate volume:
- Measure length × width × depth
- Convert depth to feet (inches ÷ 12)
- That gives you cubic feet
- Divide by 27 to get cubic yards
Bag yields (approx):
- 80-lb bag ≈ 0.60 cu ft
- 60-lb bag ≈ 0.45 cu ft
- 50-lb bag ≈ 0.375 cu ft
Example: 10 ft × 10 ft slab × 4 inches thick
Depth in feet = 4/12 = 0.333
Volume = 10 × 10 × 0.333 = 33.3 cu ft
Bags (80-lb) = 33.3 ÷ 0.60 ≈ 56 bags
Add ~10% extra for waste and variations.
When to Order Ready-Mix Instead
If you’re pouring anything more than a small DIY job, ready-mix delivery can save time and improve consistency.
Ready-mix is usually the better choice when:
- You need more than a lot of bags (labor + mess adds up fast)
- You want consistent strength and workability
- You’re on a tight schedule
- The pour is large or needs a smooth finish
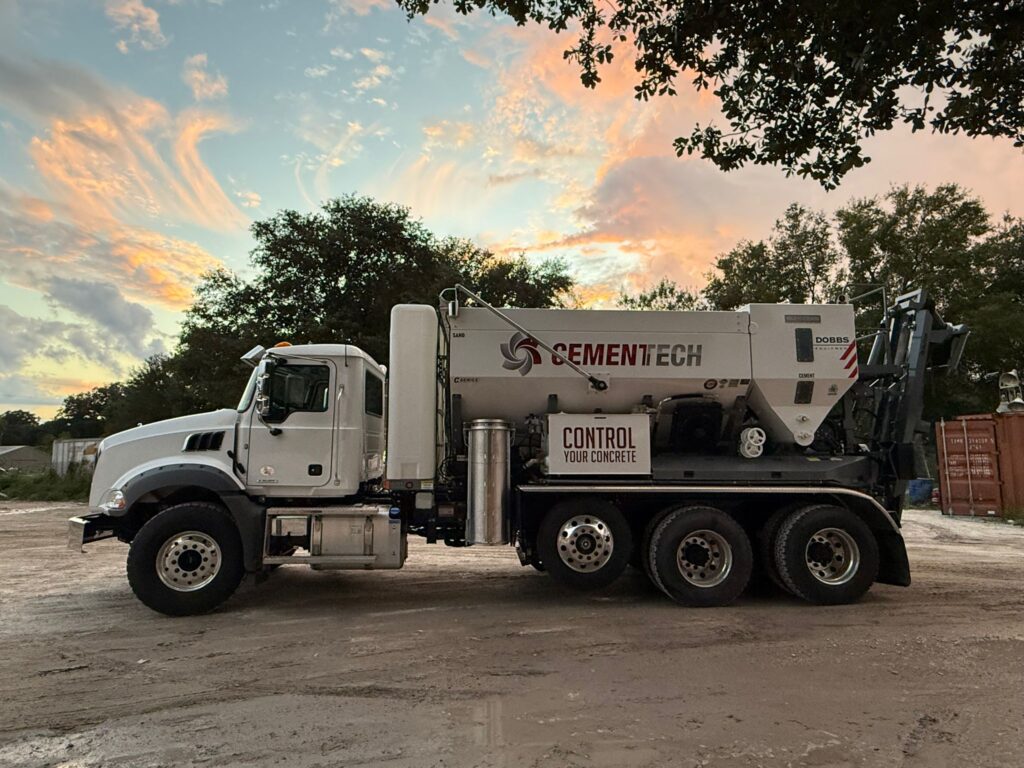
Need Ready-Mix Delivered?
If you’re in the Orlando/Central Florida area and want reliable scheduling and consistent concrete for your jobsite, Concrete Mix USA can help.
Request a quote or call us to plan your order.
👉 [Request a Free Quote]
📞 [WhatsApp]